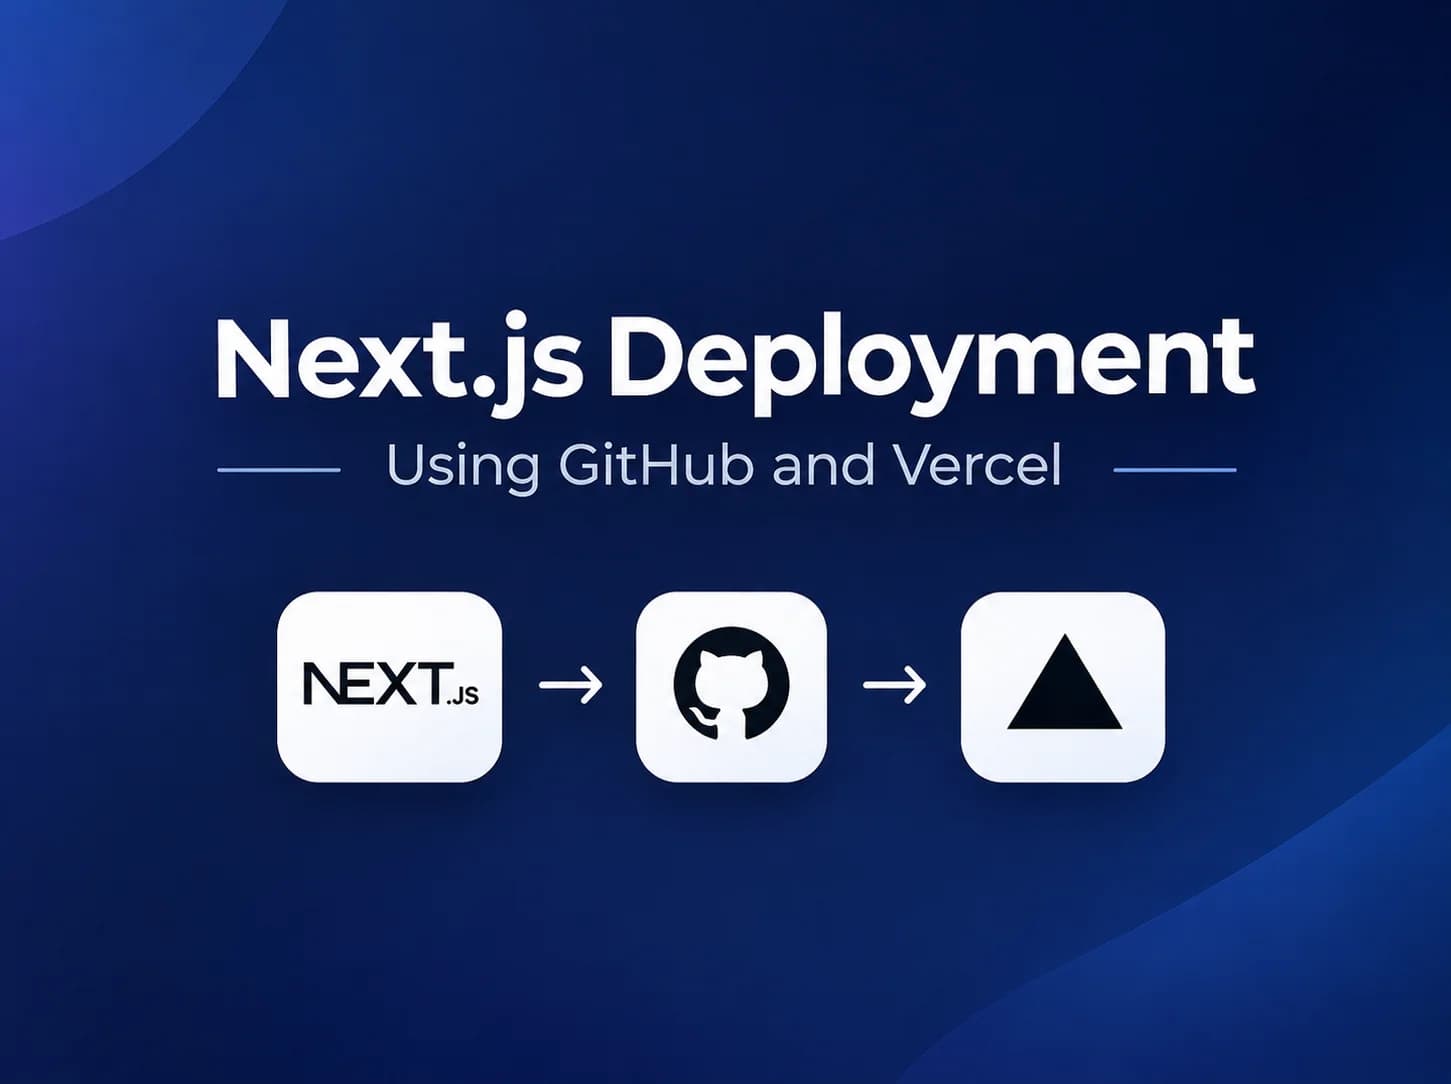
How to Deploy a Next.js Website Using GitHub and Vercel

Nutz
2026-11-18
A technical guide for developers and CTOs on modern frontend deployment. Learn how to connect GitHub with Vercel for seamless CI/CD Next.js deployments.
For modern software teams and agencies, the days of manually uploading files via FTP to a shared server are long gone. The standard for high-performance frontend applications—especially those built on React and Next.js—is automated CI/CD (Continuous Integration and Continuous Deployment).
The most powerful, frictionless combination for this workflow is Next.js + GitHub + Vercel.
Whether you are a startup CTO in Bangalore or an agency developer, understanding this deployment architecture is critical for shipping fast, secure, and globally distributed web applications. Here is a technical breakdown of how this pipeline works and how to set it up for production.
Why This Stack Matters
- Next.js: A React framework that allows for Server-Side Rendering (SSR), Static Site Generation (SSG), and API routes, resulting in blazing-fast SEO performance.
- GitHub: The industry standard for version control and collaborative code management.
- Vercel: The creators of Next.js and a premier cloud platform. Vercel automatically configures the global CDN (Content Delivery Network), serverless functions, and edge caching specifically optimized for Next.js.
The Deployment Workflow
When configured correctly, your deployment workflow becomes entirely automated:
- A developer writes code on their local machine.
- They push a commit to the
mainbranch on GitHub. - Vercel detects the change in the GitHub repository instantly.
- Vercel automatically runs the build process (
npm run build). - If the build passes, Vercel deploys the site to its global edge network.
- The live website is updated with zero downtime.
This process eliminates human error in deployment and allows teams to ship features multiple times a day.
Step-by-Step Implementation Guide
Step 1: Prepare Your Next.js Application
Ensure your Next.js application runs locally without errors. Run the build command locally to verify there are no hidden TypeScript or ESLint errors that will crash the production build:
npm run lint
npm run build
Step 2: Push Your Code to GitHub
Create a new repository on GitHub. Initialize git in your local project, commit your files, and push them to the new repository. Ensure your .env.local file is included in your .gitignore so you do not expose sensitive API keys publicly.
git init
git add .
git commit -m "Initial commit"
git branch -M main
git remote add origin https://github.com/your-username/your-repo-name.git
git push -u origin main
Step 3: Connect Vercel to GitHub
- Log in to Vercel.com (you can log in using your GitHub account).
- Click Add New... > Project.
- Under the “Import Git Repository” section, connect your GitHub account if you haven't already.
- Find your newly created repository in the list and click Import.
Step 4: Configure Production Settings
Before clicking deploy, Vercel allows you to configure the environment:
- Framework Preset: Vercel auto-detects Next.js.
- Root Directory: If your Next.js app is inside a subfolder, specify it here.
- Environment Variables: Crucial step. Add all your production database URLs, API keys, and secrets here. Do not skip this, or your build will likely fail.
Click Deploy.
Step 5: The Build Process
Vercel will clone your repository, install dependencies (npm install), and run the build command. You can watch the terminal logs live in the Vercel dashboard. If it succeeds, Vercel assigns a live *.vercel.app domain to your project.
Advanced Production Configurations
For serious business applications, a basic push-to-deploy is not enough. You need staging environments and custom domains.
Preview Deployments (Staging)
One of the most powerful features of this stack is Preview Deployments. If a developer creates a new branch in GitHub (e.g., feature/new-header) and opens a Pull Request, Vercel will automatically build a unique, temporary URL for that specific branch. Your QA team or client can test the live feature on this temporary URL before it is merged into the main production branch.
Adding Custom Domains
To launch to the public, go to your project settings in Vercel, navigate to Domains, and add your custom domain (e.g., www.yourbrand.in). Vercel will provide the DNS records (usually an A Record and a CNAME) to add to your domain registrar (like GoDaddy or AWS Route53). Vercel automatically provisions and renews the SSL certificates for free.
Why Technical Excellence Matters
Building a website is easy; building a scalable, high-performance web application requires engineering discipline. Deploying Next.js on Vercel via GitHub ensures that your infrastructure can handle sudden traffic spikes (like a Diwali sale or viral PR moment) without server crashes, while providing developers the tools they need to iterate quickly.
At Nutz, our engineering teams build enterprise-grade web applications and SaaS platforms using modern stacks like Next.js, Node.js, and automated CI/CD pipelines. We treat website development as serious software engineering.
Related work
View Clotricks web app case studyAbout the Author
Nutz
Design & Development Team
We share insights on design, development and building digital products from our studio in Erode, Tamil Nadu.
Work with usRelated SaaS product
Built by Nutz in Erode
Explore SaaS products we design and ship.